How to Build a Custom AR-15 Rifle for Home Defense on a Budget of $800 for Spring 2026
Building your own AR-15 for home defense doesn't require dropping $2,000+ on a complete rifle. With smart component selection and a realistic understanding of what matters for defensive use, you can assemble a reliable, accurate, and purpose-built home defense rifle for $800 or less. I've been testing and reviewing AR platforms for over a decade, and I can tell you that premium branding often exceeds performance gains in real-world home defense scenarios. The key is knowing which corners you can cut and which you absolutely cannot.
This guide breaks down a concrete build plan with specific part recommendations, pricing strategies, and assembly fundamentals. Whether you're new to AR platforms or upgrading from a completed rifle, you'll have everything needed to construct a defensive carbine that actually works under stress—not just on the range. I'll walk you through every decision with the reasoning behind it, so you understand the trade-offs you're making.
Table of Contents
Budget Allocation Strategy
The $800 budget is tight but feasible. The mistake most first-time builders make is spreading money equally across all components. Home defense demands a different approach than precision rifle building. You need to prioritize: reliability and function trump aesthetics. I recommend allocating roughly 35% to the upper receiver assembly (barrel, bolt carrier group, handguard), 25% to the lower receiver and trigger, 20% to optics, 15% to furniture and controls, and 5% to miscellaneous parts and tools.
When spring 2026 arrives, the secondary market for AR components typically opens up as people offload previous-year purchases or rotate equipment. This is your window to hunt for deals on proven platforms. Budget-tier manufacturers like Radical Firearms, Aero Precision's budget line (if available), and PSA (Palmetto State Armory) release seasonal sales. However, do not compromise on trigger quality or barrel accuracy for a few dollars saved. A poor trigger creates dangerous fumbles in stress scenarios, and a loose barrel tolerance means your defensive hits won't land predictably at 7-15 yards—where home defense engagements actually occur.
Lower Receiver & Trigger Assembly
The lower receiver is technically the "firearm" by law, but for home defense purposes, it's a platform for your trigger and controls. You cannot cheap out here—not because of quality snobbery, but because a mushy trigger or inconsistent reset creates liability and performance problems. I recommend a stripped lower from either Anderson Manufacturing (solid mid-tier, $50-70) or Aero Precision ($60-80). These manufacturers hold tolerances and won't give you wobbly controls. Avoid Amazon "tactical lowers"—they often have oversized holes and won't hold parts securely.
For triggers, the Milspec single-stage trigger is adequate at $25-35, but I strongly recommend stepping up to a Larue MBT-2S (around $90) or a used Geissele Super Dynamic Enhanced (usually $80-120 used). These triggers break at 4-4.5 pounds with a crisp, predictable reset. In a home defense situation where you might be stressed, fatigued, or partially obscured, a good trigger keeps your shots going where they need to go. Pair this with a quality lower parts kit from Aero or Ballistic Advantage ($40-50), which includes a functional safety, magazine catch, and buffer components. Do not assemble this yourself if you lack experience—visit a local gunsmith for a $30-50 assembly fee. It's worth the insurance against installation errors.
Upper Receiver & Barrel Selection
This is where your primary budget allocation lives. Your upper receiver doesn't need to be premium—Aero Precision or Anderson upper receivers ($60-90) work fine. The critical component is the barrel. For home defense, you want a 16-inch 5.56 NATO barrel with a 1:7 or 1:8 twist rate. These are the defensive sweet spot: long enough for reliable 5.56 terminal performance (55-77 grain bullets expand predictably at 2,600+ fps), stable enough to handle the 55-62-grain ammunition you'll actually train and keep loaded. Avoid 18-inch barrels—they're unnecessary for home defense and make your rifle harder to manage in tight spaces.
Spend $80-120 on a barrel from Ballistic Advantage, Criterion, or even a quality PSA barrel. Many shooters overpay for "match grade" barrels that deliver 0.5 MOA groups when home defense only requires 2-3 MOA reliability. Ballistic Advantage offers excellent quality-to-price ratio. Install a carbine-length gas system rather than mid-length—it's more standard, easier to find parts for, and softer shooting when suppressed (if that's a future goal). Add a gas tube ($15-25), a low-profile gas block ($30-50 for a quality one like Radian Raptor), and assemble with stainless steel hardware. Your bolt carrier group is critical: purchase a quality full-auto-rated BCG from Toolcraft, Sionics, or similar ($70-100). Some budget BCGs use cast carriers that fail under stress. Full-auto-rated bolts aren't overkill—they're insurance against catastrophic failure during high round-count defensive drills.
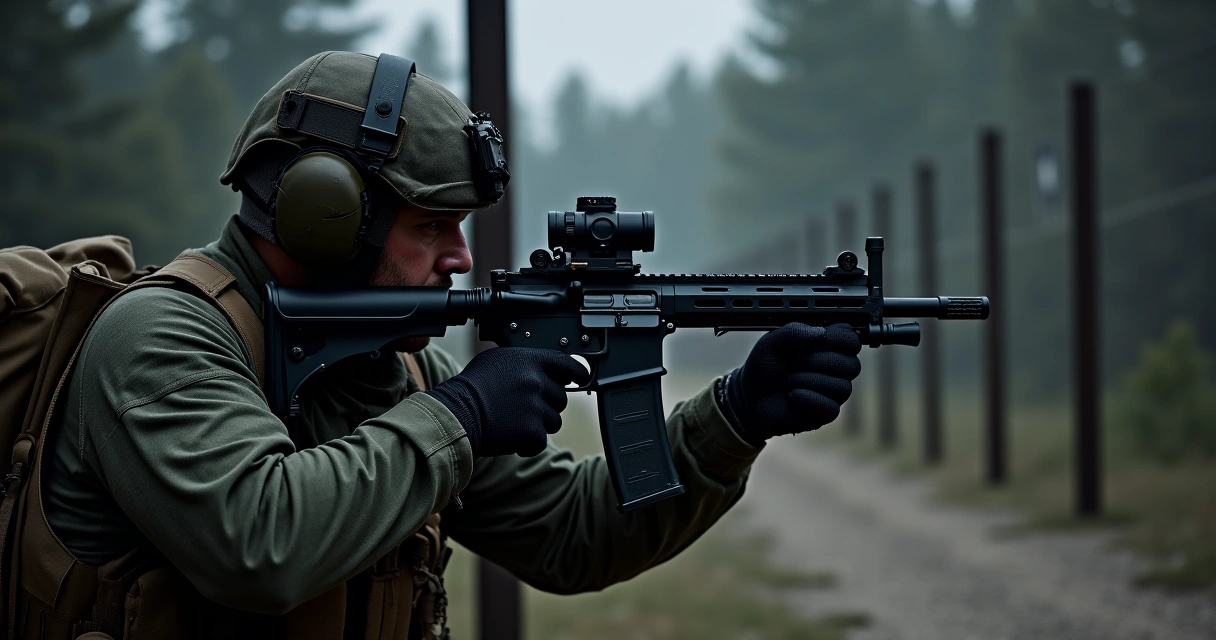
Furniture & Ergonomics
Furniture directly impacts how fast you can manipulate your rifle under stress. A low-quality handguard creates sharp edges that cut your hand during rapid magazine changes, and poor ergonomics waste precious time in a defensive scenario. Allocate $60-100 for a quality free-float handguard. Aero Precision, Midwest Industries, and BCM offer mid-range options that won't break the bank. Free-floating means the barrel doesn't touch the handguard—this significantly improves consistency without adding complexity. A 12-15 inch handguard is ideal for home defense: long enough to mount a weapon light underneath without crowding, short enough not to interfere with barricade work or vehicle operations.
Your stock matters too. A quality adjustable stock like the Magpul CTR or MOE SL ($25-35) adjusts for different body armor configurations, clothing, and shooting positions. Fixed stocks are cheaper but limit adjustment. For a defensive rifle used by one person without body armor, an adjustable stock is worth the investment. Spend $15-20 on a quality grip—Magpul MOE or BCM Gunfighter ($15-30). Avoid the cheapest stamped aluminum grips; they're uncomfortable and slow down target transitions. Your charging handle ($20-40 for a quality ambi handle like Radian Raptor or BCM) gets used constantly. A quality charging handle with a proper gas deflector prevents gas in your face when shooting, critical for follow-up shot speed.
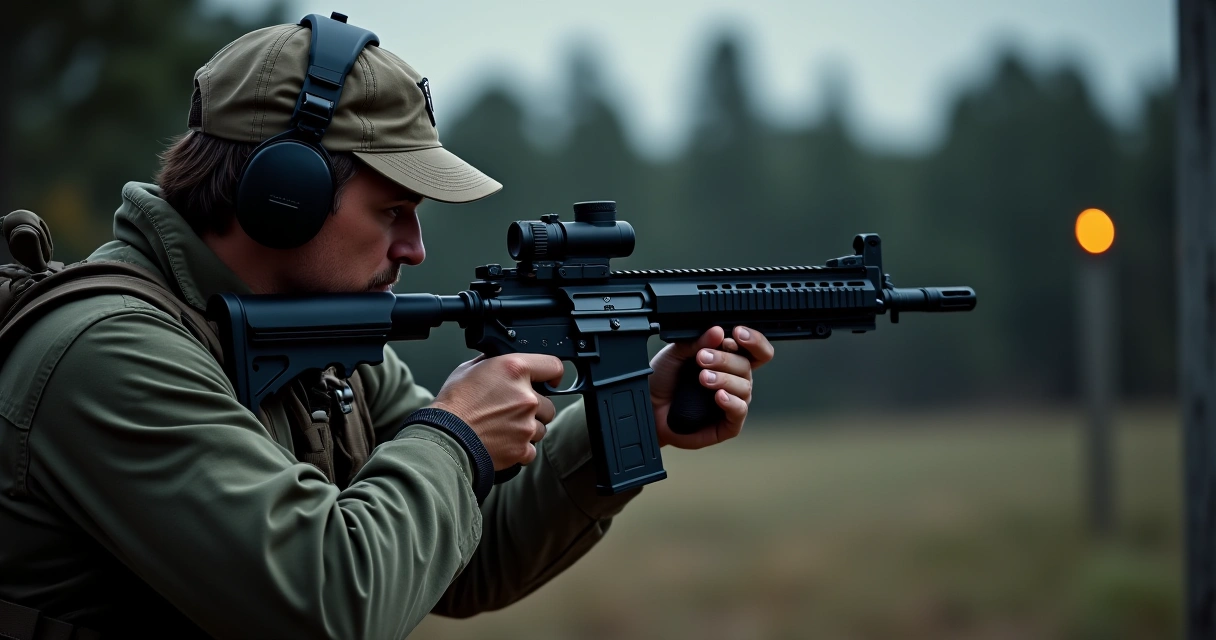
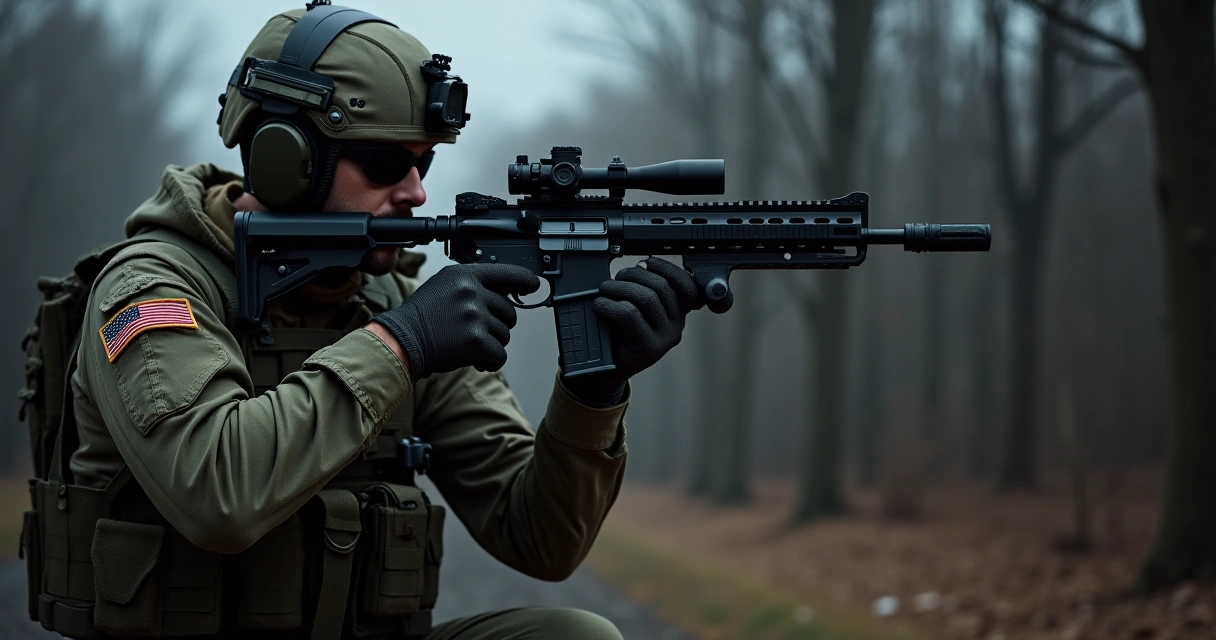
Optics & Sighting Systems
Optics are where budget-conscious builders often fail defensively. A quality optic determines whether you can reliably place rounds on target at home defense distances (7-25 yards). Red dots are faster for close quarters; low-power variable optics (LPVOs) offer more versatility for unknown scenarios. With an $800 total budget, I recommend one of three approaches: (1) a quality primary red dot like a Holosun HS503C ($120-150), (2) a used Vortex LPVO like a Viper PST Gen 2 1-6x ($200-250), or (3) a newer Sig Romeo 7S ($150-180). Avoid red dots under $80—they break, drift, or lose zero under rapid fire.
If you choose a red dot, budget $50-70 for backup iron sights. Magpul MBUS Pro ($65-85 for the set) or even basic MBUS ($30-40) work. Test your optic mounting system before committing—a loose mount costs you fights. Use quality rings or mounts: Aero Precision, Badger Ordinance, or similar ($40-80). Do not use cheap see-through mounts or sketchy Picatinny ring sets. Your optic must retain zero after 100+ rounds of defensive training. If you go LPVO route with your $800 budget, accept that you'll have less money elsewhere—that's a trade-off analysis you need to make based on your intended use.
Assembly & Function Testing
Assembling an AR-15 upper receiver requires minimal tools if you use roll pin punches ($15 for a set). However, if you lack experience, paying $50-75 to a gunsmith for upper assembly ensures proper staking of the gas block and correct carrier installation. A misaligned gas block causes feeding failures or excessive wear. Once assembled, you need function testing before any defensive deployment. Perform a chamber check (press empty rounds in and out repeatedly), a feeding test (load dummy rounds and cycle manually), and a visual inspection of bolt lockup.
Your first range session should focus on zero confirmation and function validation, not grouping. Fire 20-30 rounds through your completed rifle specifically to verify no failures to feed, failures to extract, or unexpected malfunctions. Home defense rifles don't need sub-MOA accuracy—they need 100% reliability. Shoot at 7, 15, and 25 yards to understand your optic's ballistics. Run at least 50 rounds through your completed build before any defensive deployment, and ideally 200 rounds across multiple shooting sessions. This isn't optional—it's liability mitigation and practical capability confirmation.
Complete Build Budget Breakdown (~$800)
| Component | Recommended
Frequently Asked QuestionsHow do I choose the right upper receiver and barrel for a budget home defense AR-15 in 2026?For home defense, select an 16-inch or 14.5-inch barrel with a 1:7 twist rate to ensure reliable function with various ammunition types while maintaining accuracy at short ranges. Prioritize reputable manufacturers that offer budget-friendly mil-spec components, as these provide the durability needed for defensive situations without exceeding your $800 limit. What is the best lower receiver option for building a custom AR-15 on a tight budget?The most cost-effective and reliable choice is a standard mil-spec aluminum lower receiver, which serves as the foundation for your build. Avoid exotic materials like polymer or titanium lowers at this price point, as they often add unnecessary cost without providing significant performance benefits for home defense. Is it worth buying a complete AR-15 kit versus building from individual parts for a $800 budget?Buying a complete kit is generally more economical because manufacturers bundle discounted components, helping you stay within your $800 budget while ensuring all parts are compatible. Building from scratch offers customization but often exceeds the price limit when accounting for shipping and taxes on individual items. How do I choose a gas system length that is safe for indoor home defense use?Select a mid-length or carbine gas system to reduce recoil impulse and muzzle flash, which are critical factors when shooting inside a confined home environment. This configuration also allows you to use a standard 16-inch barrel while maintaining the reliability required for defensive scenarios. What is the best type of trigger to install on a budget AR-15 for improved home defense performance?A match-grade or competition-style trigger with a crisp break around 3.5 to 4.5 pounds is ideal for enhancing accuracy and reducing shooter fatigue during defensive engagements. Many affordable aftermarket triggers from reputable brands offer this level of quality without requiring a massive budget increase. How do I assemble an AR-15 safely if I have no prior experience building firearms?Start by gathering all parts on a clean surface, then follow the manufacturer's step-by-step guide to install the buffer tube, spring, and bolt carrier group before attaching the upper receiver. Always wear safety glasses and ensure you are in a secure location with proper tools before attempting to torque the barrel nut or finalize assembly. Is it worth investing in a high-capacity magazine for a home defense AR-15 built on a budget?Yes, investing in a quality 30-round polymer magazine is essential for maintaining reliability and speed during defensive operations. While cheaper magazines exist, they may fail under stress; therefore, allocating part of your $800 budget to a reputable brand ensures consistent feeding performance. |
|---|